An official-style, easy-to-follow guide to understand what the codes mean, how to check connections, and when to contact VTUVIA support.
Quick Reference
| Error Code | Area | Primary Action |
|---|---|---|
| E02 | Brake | Check brake-lever connectors; replug and confirm code clears. |
| E06 | Battery | Charge 5–6 hours; confirm seating; measure voltage; contact support if needed. |
| E07 | Motor | Inspect motor ↔ controller plugs; verify pins; replug; check cable damage. |
| E08 | Throttle | Check/replug throttle cable; replace throttle if issue persists. |
| E09 | Controller | Replace controller. |
| E10 / E11 | Communication | Replug display, sensor, and brake-lever connectors; contact support if unresolved. |
| E12 | BMS | Repair BMS. |
| E13 | Front Light | Replace front light. |
Tip: After unplugging a component, if the error disappears and then returns after reconnection, the issue is likely in that component or its wiring.
E02 — Brake Issues
What it indicates: The display detects a brake signal problem (often a lever connector or sensor signal held “on”).
Steps to check
- Inspect the brake-lever connectors (left and right) for full seating, moisture, or debris.
- Power off. Unplug one brake-lever connector (left or right), then power on to see if the code clears.
- If the code clears, the unplugged side is likely the cause. If not, test the other side.
- Replug the waterproof connector straight and firmly until fully seated.
Ride note: Do not ride until the brake error is resolved and both brakes function normally.
E06 — Battery Issues
What it indicates: Low battery level, installation/connection issue, or abnormal voltage.
Steps to check
- Check the battery level and charge for 5–6 hours.
- Confirm the battery is correctly seated and locked in place.
- Use a voltage meter to measure battery voltage; compare with rated specs.
- If the error persists after charging and reseating, contact VTUVIA support.
E07 — Motor Issues
What it indicates: Motor connection fault, damaged pins, or cable damage between motor and controller.
Steps to check
- Inspect the motor and controller connectors for full seating and contamination.
- Power off. Unplug the motor ↔ controller plugs and check for bent or deformed pins.
- Power on with the motor unplugged to see if the code clears, then power off again.
- Replug the motor cable carefully, aligning the arrows/keys and pins properly.
- If the error persists, inspect the motor cable along its length for cuts, kinks, or crush damage.
- Still not working? Contact VTUVIA support.
E08 — Throttle Issues
What it indicates: Throttle signal out of range or connection fault.
Steps to check
- Check the throttle connector at the handlebar junction box/front harness.
- Power off, unplug the throttle cable, then power on to see if the code clears.
- Power off and replug the throttle cable fully. Test throttle response carefully.
- If the issue remains, replace the throttle.
Safety: After any throttle work, test the bike on a stand or open space before normal riding.
E09 — Controller Issues
What it indicates: Internal controller fault.
Resolution
Replace the controller. If you need guidance on compatibility or installation, please contact VTUVIA support.
E10 / E11 — Communication Issues
What it indicates: Data/communication problem between display, sensors, controller, or brake levers.
Steps to check
- Display: Power off, unplug and replug the front waterproof display cables; power on and check.
- Sensor(s): Unplug and replug the sensor connectors (e.g., speed/assist sensor) and test again.
- Brake levers: Unplug/replug left and right brake lever connectors one at a time to isolate the source.
- If the issue persists, contact VTUVIA support.
E12 — BMS Communication Issues
What it indicates: The Battery Management System (BMS) is not communicating properly with the controller/display.
Resolution
Repair the BMS. Please reach out to VTUVIA support for diagnosis and service options.
E13 — Front Light Issues
What it indicates: Front light not detected or malfunctioning.
Resolution
Replace the front light. Inspect the light connector first; if secure and the issue persists, proceed with replacement.
Helpful Habits to Prevent Errors
- Power off before connecting/disconnecting any cables.
- Keep connectors dry and clean; align arrows/keys and push straight together until fully seated.
- After service or transport, do a 60-second function check: brakes, throttle, assist, lights.
- Charge the battery in a dry, ventilated area and ensure it clicks/locks in place on the bike.
Good practice
Need More Help?
If an error code remains after you’ve followed the steps above, or if you notice damaged connectors/cables, please contact VTUVIA support. We’re here to help you get back to a safe and enjoyable ride.
Share:
SN100 Display Error Codes — Friendly Troubleshooting Guide
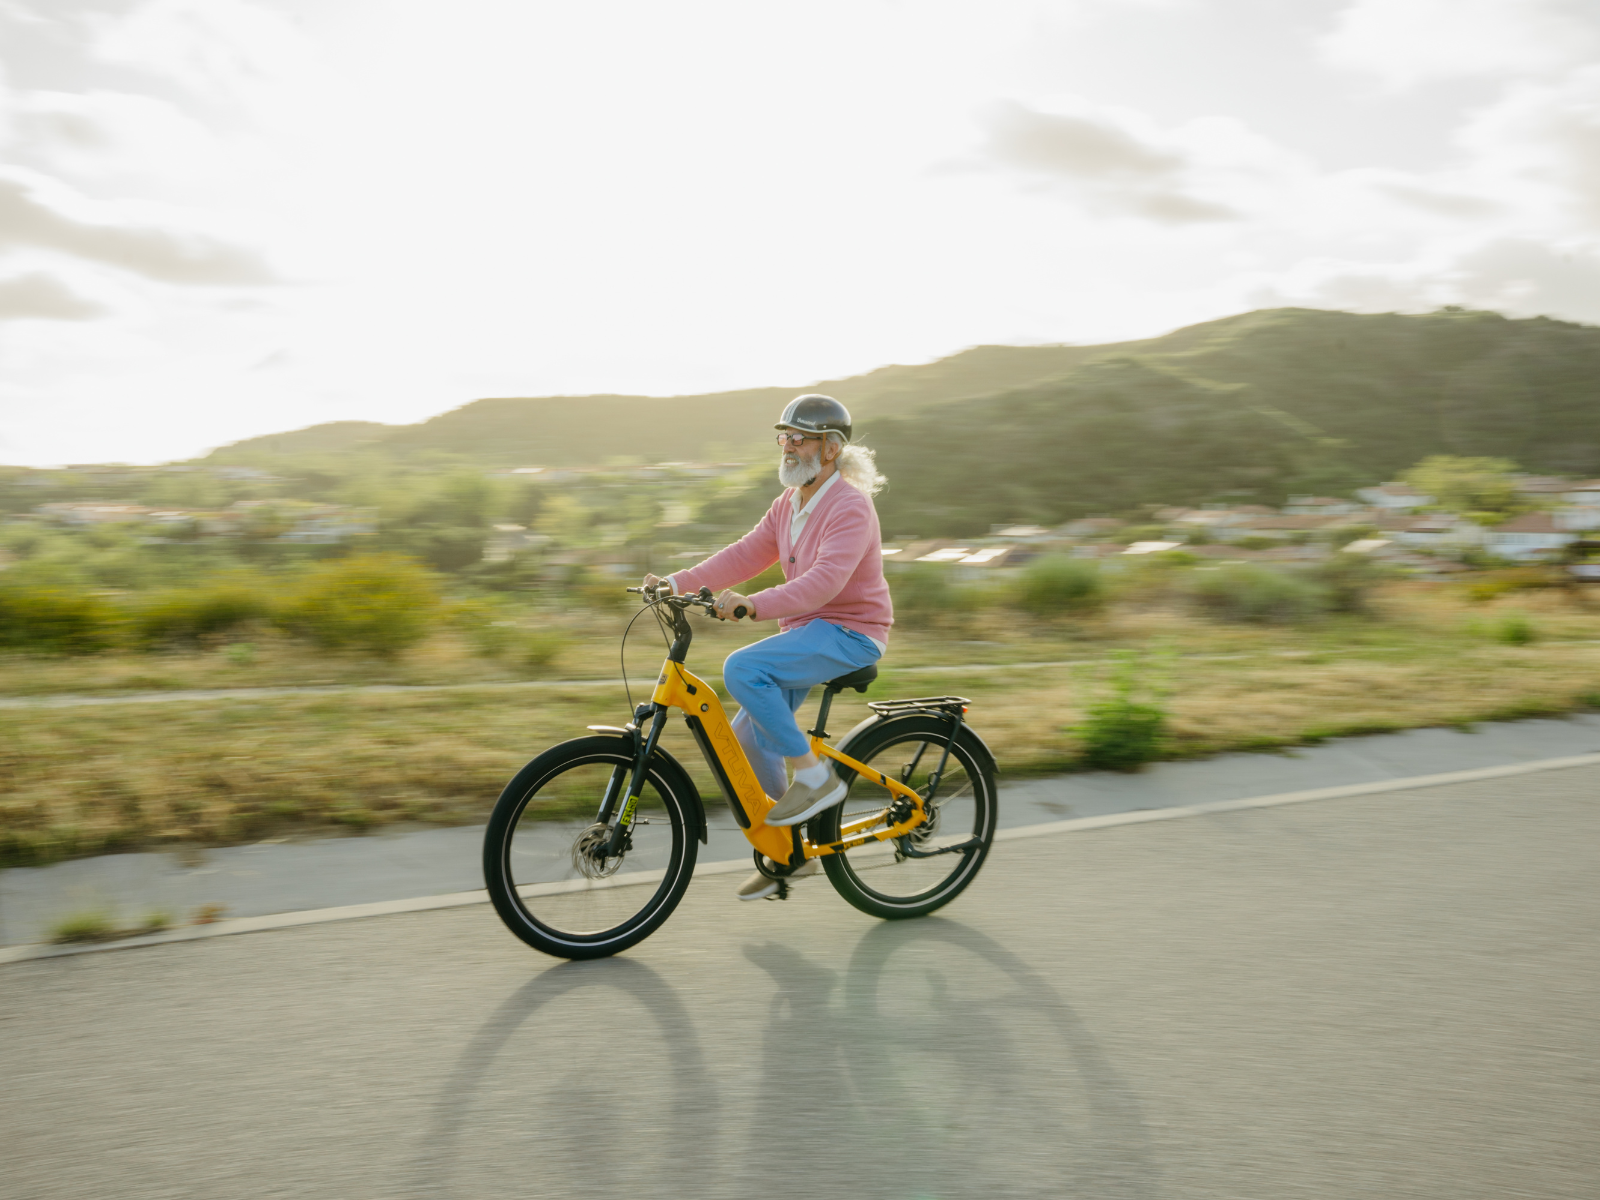
Benefits of eBikes for Retirees: How Often Should Seniors Ride?