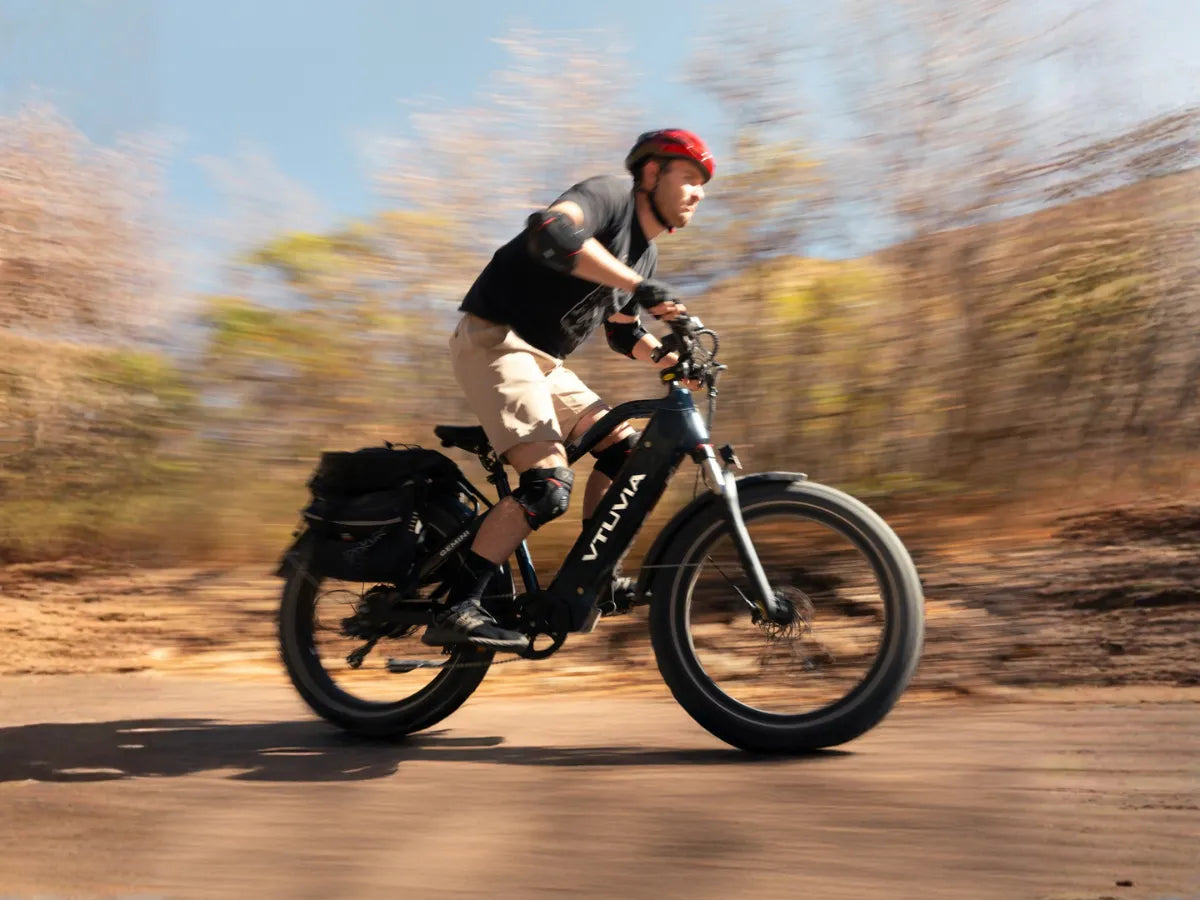
How to Adjust Your eBike Seat: The Ultimate Guide for Comfort & Performance
Master saddle height, fore-aft position, and tilt — with step-by-step instructions, troubleshooting, and a practical 30-day tuning plan designed for eBikes and riders of all levels.
By VTUVIA eBike — Ride comfortably. Ride longer. Ride together.
Quick summary
If you want the short version: adjust saddle height, then fore-aft, then tilt. Start from a baseline (heel or inseam formula), test-ride, and make small incremental changes (2–5 mm or 0.5° at a time). Use this guide to go deeper: saddle selection, tools, scene-specific presets, and a 30-day plan.
1. Why a properly adjusted eBike seat matters
- Comfort: reduces saddle soreness and numbness.
- Efficiency: improves pedaling mechanics and power transfer.
- Injury prevention: lowers risk of knee, hip, or lower back pain.
- Safety: proper height and position make mounting/dismounting easier—important on step-through and commuter eBikes.
Tip: On many eBikes riders adopt a more upright posture. That changes ideal saddle width, tilt, and height compared to aggressive road setups. Treat eBikes as their own category when fitting.
2. Core saddle adjustment dimensions
- Height: how high the saddle is from the bottom bracket (BB) or ground.
- Fore-aft (setback): horizontal position relative to the BB (affects knee alignment).
- Tilt/angle: nose up/down or level (affects pressure distribution).
3. Choose the right saddle first (often ignored)
3.1 Sit-bone width & saddle width
Measure your sit-bone (ischial tuberosities) width at home or at a local bike shop. Match saddle width to your sit-bones: too narrow concentrates pressure; too wide chafes.
3.2 Saddle shape, length and cutaways
Short nosed saddles are friendly for upright riding and frequent standups (commuting, eBikes). Saddles with cutouts or channels reduce perineal pressure for long rides or forward-leaning postures.
3.3 Rail material and compatibility
- Steel/titanium rails allow more clamping tolerance.
- Carbon rails require careful torque and compatible clamps.
If you ride an eBike more upright, prefer a slightly wider, more padded saddle than a road race saddle.
4. Tools & prep checklist
- Hex/Allen set (4/5/6 mm)
- Torque wrench (recommended for carbon parts)
- Ruler or measuring tape (mm)
- Level or phone inclinometer app
- Marker tape to mark baseline positions
- Optional: smartphone to record side-view video for angle measurement
Always respect the minimum insertion mark on your seatpost. For carbon rails and posts, use carbon assembly compound and follow torque specs.
5. Baseline: 10-minute quick setup (get rolling)
- Wear your riding shoes and any pads you normally use.
- Set tilt: start with saddle level (0°) or 1° nose down.
-
Set height:
- Heel method: sit on bike (support against wall), put heel on pedal at 6 o'clock — leg should be straight at the pedal bottom. This gives a rough height baseline.
- Inseam formula: measure inseam, multiply by 0.883 or 0.885 to estimate BB→saddle top distance. Use as reference.
- Fore-aft (KOPS): rotate the pedal to 3 o'clock with right foot. Sit normally and drop a vertical line from the front of your knee (patella tendon area) — it should roughly pass over the pedal spindle.
- Mark the seatpost so you can return to baseline.
- Take a 5–10 minute ride and adjust in small steps: 2–5 mm or 0.5° per change.
6. Deep dive: How to dial each dimension
6.1 Saddle height — the how and why
- Goal: efficient leg extension without over-straightening at bottom of stroke. A useful guideline: knee angle at bottom of stroke ≈ 25°–35° (measured at the knee between thigh and lower leg).
- Methods to measure:
- Slow-motion side video + angle app.
- Goniometer or phone app to measure knee angle at 6 o'clock.
- Practical rules:
- If your hips rock side-to-side → saddle too high.
- If you feel excessive knee strain, especially front knee → saddle probably too low.
6.2 Fore-aft position (KOPS & beyond)
Knee Over Pedal Spindle (KOPS) is a practical starting point—not a strict law. The idea: the vertical line from the forward part of the knee (or patella tendon) should intersect the pedal spindle when the crank is horizontal (3 o'clock).
- If knee lands significantly in front of spindle → try moving saddle back.
- If knee falls behind spindle → move saddle forward.
- Small adjustments (5–10 mm) can noticeably change comfort/handling.
6.3 Saddle tilt
- Start neutral (level). Slight nose-down (0–2°) is common to relieve perineal pressure, but too much nose-down makes you slide forward and overload hands/wrists.
- For long urban commutes and upright eBikes, keep it nearly level to distribute weight through sit bones.
Adjustment increments
Make small changes: 2–5 mm for height/fore-aft, 0.5°–1° for tilt. Ride 5–15 miles after a set of changes before making more—let your body adapt.
7. System thinking: shoes, pedals, crank length, and cockpit
Your saddle fit works together with these parts:
- Shoe/pedal position: moving cleats fore/aft changes effective leg length and KOPS.
- Crank length: shorter crank reduces required saddle height slightly.
- Handlebar height & reach: changes pelvic tilt and influence perceived saddle comfort.
Rule: change only one variable at a time and re-test. If you swap shoes or bars, plan to re-check saddle settings.
8. Scene-specific presets (recommended starting points)
8.1 Commuting / eBike upright setup
- Saddle slightly lower than road—prioritize easy foot-to-ground contact.
- Saddle wider and more padded; tilt neutral.
8.2 Long-distance & gravel
- Neutral-to-slight nose-down tilt, saddle width matched to sit bones, consider a short nose for frequent position shifts.
8.3 Mountain / trail with dropper
- Set saddle for seated climbing height; use dropper when descending. Don’t over-correct tilt for standing sections.
9. Symptom-driven troubleshooting table
Symptom | Likely cause | Adjustment to try |
---|---|---|
Front knee pain | Saddle too low or too far forward | Raise saddle 3–5 mm; move saddle back 5 mm |
Back of knee pain | Saddle too high | Lower saddle 3–5 mm |
Perineal numbness | Saddle tilt too nose-up or wrong saddle shape | Level saddle / slight nose down; try cutout saddle |
Hand/wrist pain | Too much weight on hands (saddle too far back/tilted forward) | Raise bar / move saddle back / level saddle |
Hip rocking | Saddle too high | Lower saddle 5 mm |
10. 30-day micro-tuning plan (actionable)
A simple schedule for progressive, data-driven tuning.
Week | Focus | Actions |
---|---|---|
Week 1 | Baseline & quick ride | Set level tilt, heel method/inseam baseline. Mark seatpost. Ride 3–10 miles, note sensations. |
Week 2 | Refine height & fore-aft | Use video + angle app to check knee angle. Make 2–5 mm changes. Test 1–2 longer rides. |
Week 3 | Symptom check & long ride | Address any pain per troubleshooting table. Test a 30–50 mile ride if applicable. |
Week 4 | Lock & document | Lock torque values, mark final positions, record settings (mm/°) and preferred scenario presets. |
Downloadable tip: Keep a log file: date / mileage / pain 0–10 / changes (mm / °) / notes.
11. High-level measurement & data tools
- Phone video + angle app: record side view, measure knee angle at bottom of pedal stroke.
- Pressure mapping: advanced — shows hot spots and pressure distribution on the saddle.
- Power & cadence data: if same power at lower RPE, fit may have improved efficiency.
You don’t need expensive lab gear to make meaningful improvements. Phone video + a tape measure + small, consistent tweaks will solve most problems.
12. Common myths & mistakes
- Myth: The inseam formula is absolute. Reality: It’s a starting point—individual anatomy and shoe/pedal setup change the final answer.
- Myth: Softer saddle = more comfort. Reality: Too soft can concentrate pressure and cause pain.
- Myth: KOPS is a rule. Reality: It’s a useful reference; small differences are OK depending on riding style.
13. Maintenance & safety
- Check seatpost clamp torque every few weeks.
- Re-check after long rides or off-road sections for micro-slip.
- Observe minimum insertion line on the seatpost.
- For carbon rails/posts, always use recommended torque and carbon paste to avoid slippage or damage.
14. Practical templates & downloads (copyable)
Baseline recording template
Date: __________ Bike model: __________ Saddle model & width: __________ Saddle height (mm from BB or mark): __________ Fore-aft (mm from mark): __________ Tilt (°): __________ Cleat position (mm): __________ Notes / pain scale 0–10: __________
Quick 5-question checklist before a ride
- Marked baseline position visible?
- Saddle clamp torque ok?
- Saddle tilt is as recorded?
- Cleats/shoes secured?
- Any new discomfort since last ride?
15. Frequently asked questions (FAQ)
Q: Do I need a professional bike fit?
A: If you have chronic pain, prior injuries, or want peak performance, a pro fit helps. But most riders will significantly improve with the steps above.
Q: My eBike has a step-through frame — any special advice?
A: Step-through bikes often have more upright geometry. Prioritize a slightly wider saddle, neutral tilt, and a height that allows easy foot-to-ground contact.
Q: I swapped saddles — do I need to start from zero?
A: Yes — start from baseline and run through the 30-day plan. Different saddles change contact points; re-tuning is recommended.
16. Final checklist & quick reference
Quick adjustments
- Change ≤5 mm per session
- Change ≤1° tilt per session
- Ride then re-evaluate—don’t overreact to immediate sensations
When to see a pro
- Pain that persists >2 weeks after adjustment
- Complex issues after hardware changes (crank length, major cockpit change)
- Competitive training where watts and aerodynamics matter
17. Join the ride — VTUVIA community invite
We love seeing riders dial in their fit and then hit the road together. Join the VTUVIA community to swap tips, share before/after photos, and RSVP to local group rides.
Ready to feel the difference?
Share your current saddle setup with us and get personalized tips. Send your setup — or join our next community ride.
Ride comfortable. Ride together.
18. References & further reading
Suggested reading: bike fitting references, ergonomic research on saddle pressure, manufacturer torque specs, and VTUVIA's fit tips & product pages. (Add your site links and any external sources you cite.)
Share:
The Ultimate Guide to Charging Your E-Bike: Everything You Need to Know